Calling home, for safety and convenience
It’s the morning of x-mas eve, the kids are plowing through big red socks filled with candy, and I’m tucked away with my laptop and thought I’d share one of my more long term homelab wins. The remote access of my homelab, especially down to the individual servers.
The motivation
Most people with a homelab, me included, have an aversion for The Cloud (other peoples computers) and a love for keeping our data locally. That’s why we run a bunch of services at home that replace most cloud services. However exposing all of this directly to the internet is almost never the right approach. Many of these open source alternatives have less focus on security, at least when compared to paid software with large teams. Also my infra team is just one guy. As result, my home network isn’t (visibly) exposing anything publicly. So how do I connect home?
Calling home for safety
Finding the homelab is not too difficult. In the early days I used dyndns, and later duckdns but now that CloudFlare is my DNS registrar I just use their update service from my router. In essence all of these approaches work the same, when my external IP changes, I call some service that updates a DNS record to my new ip. My OPNsense router does this for me through it “Dynamic DNS” plugin. This way “myhomelab.example.com” will always point to my homelab IP, I can call home.
To safely connect home I could have setup OpenVPN, but I much prefer Wireguard. It’s faster, has a lower footprint and it runs over UDP. If someone decides to scan my network, they would easily find the OpenVPN port, but wireguard won’t reply unless you have a secret key. It’s not going to save you from a skilled adversary, but you are at least less visible on the public Internet. My OPNsense router has built in support for Wireguard and even a UI for generating client configurations. Naturally I use this on my laptop to call home and manage stuff, but I also use it on my own and my families smart phones. The second any of our phones leave the home wifi they will connect home through Wireguard. Meaning all our traffic is still coming home encrypted, and we can still access all our services. Maybe most importantly we still have DNS blocking of ads and malware and we can also quite safely connect to public/unencrypted wifi without much worry.
Okay, but what about the convenience part?
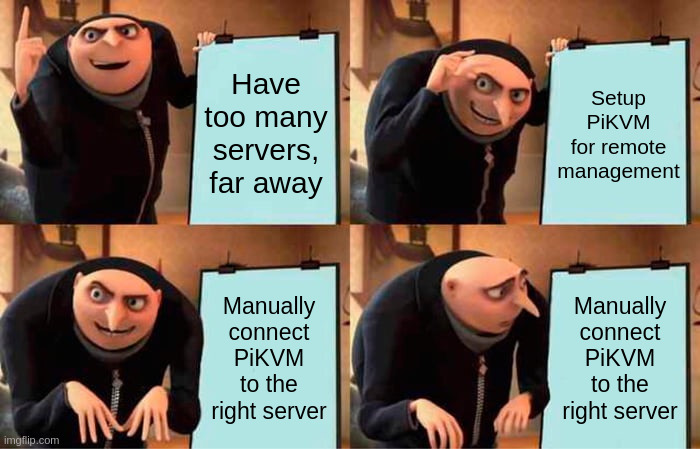
Sometimes, very very rarely, but sometimes, it can happen, that something in my lab breaks. At those very few times, basically never, it’s really frustrating to have to walk down into the basement, attach a keyboard, mouse and display to the server that broke to try to figure out what’s going on. Especially if I’m away from home. Luckily I found this really cool project PiKVM. It’s a device that exists both as a DIY recipe and as a finished product. I bought the stuff I needed, printed a case for it and tossed it into my homelab. For those of you who are less than 40 years old, KVM stands for Keyboard, Video, Mouse. Server rooms used to have these so that you could connect to any server and manage it directly. High end servers these days use things like IPMI but these servers are usually outside my budget, or too old and power hungry.
PiKVM is recent, cheap and quite clever. It has a HDMI in port to record the contents of the screen on the server you connect it to. It also allows you to connect a virtual mouse, keyboard an even a usb stick to the remote server. Meaning you can just plug in a virtual usb stick into the server you want to manage and install the operating system remotely from the comfort of your own bed. Finally I could remotely manage one machine!

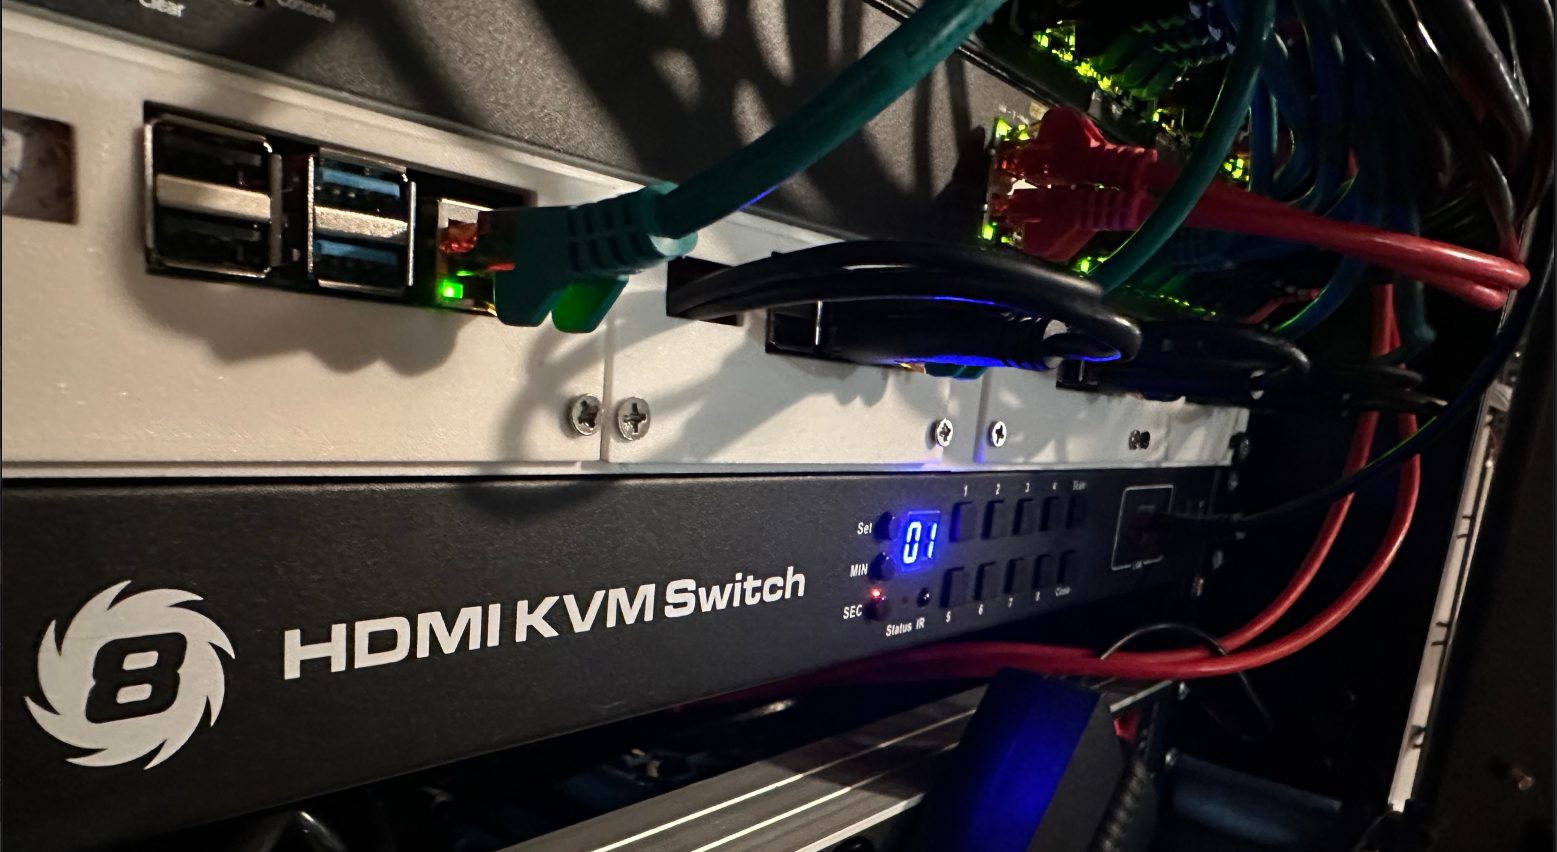
Thankfully, this can be solved with an old school KVM switch. The PiKVM documentation makes a few recommendations for switches that are compatible with PiKVM, so I went with the 8 port TESmart one which was on sale at the time and slots nicely into my 19" network rack. Right below my custom rack mounted raspberry pis.

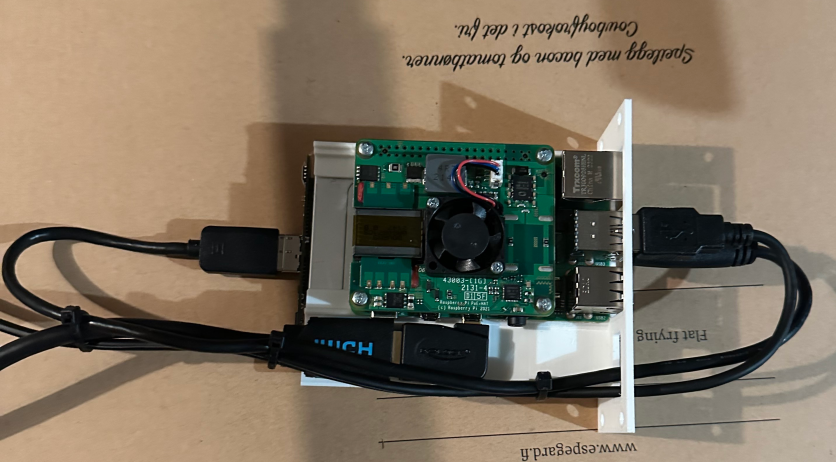
I’ll throw in a close up of a RPI node too, just to show off. I spent way too long designing these but luckily they worked out quite well! Now my raspberry pi nodes can have an SSD and a micro-hdmi to hdmi port.

PiKVM then runs a web service that let’s me login, choose one of the connected servers and a nice little terminal window pops up with all the output I could want. I can interact with the server as if I was directly connected, and even enter the BIOS to make all those secret tweaks and hacks or break things. Funnily enough, on the screenshot below the time formatting on the log output is broken for some reason. This is the dashboard for one of my Talos nodes, which is showing dmesg output. For some reason it thinks we are just above Unix Time but the machine has the correct time so the dashboard is just having a bad day I guess.
Now I can sit somewhere far away in abroad lands like Sweden, and re-install my homelab if I wanted to. And just to be clear, I really don’t want to. But I could.
God jul! :D